Guide
Transfer an embroidery design without losing placement or detail
Choose a transfer method for the fabric, line quality, scale, and removal plan—then test it before marking the project.
Match the method to the ground
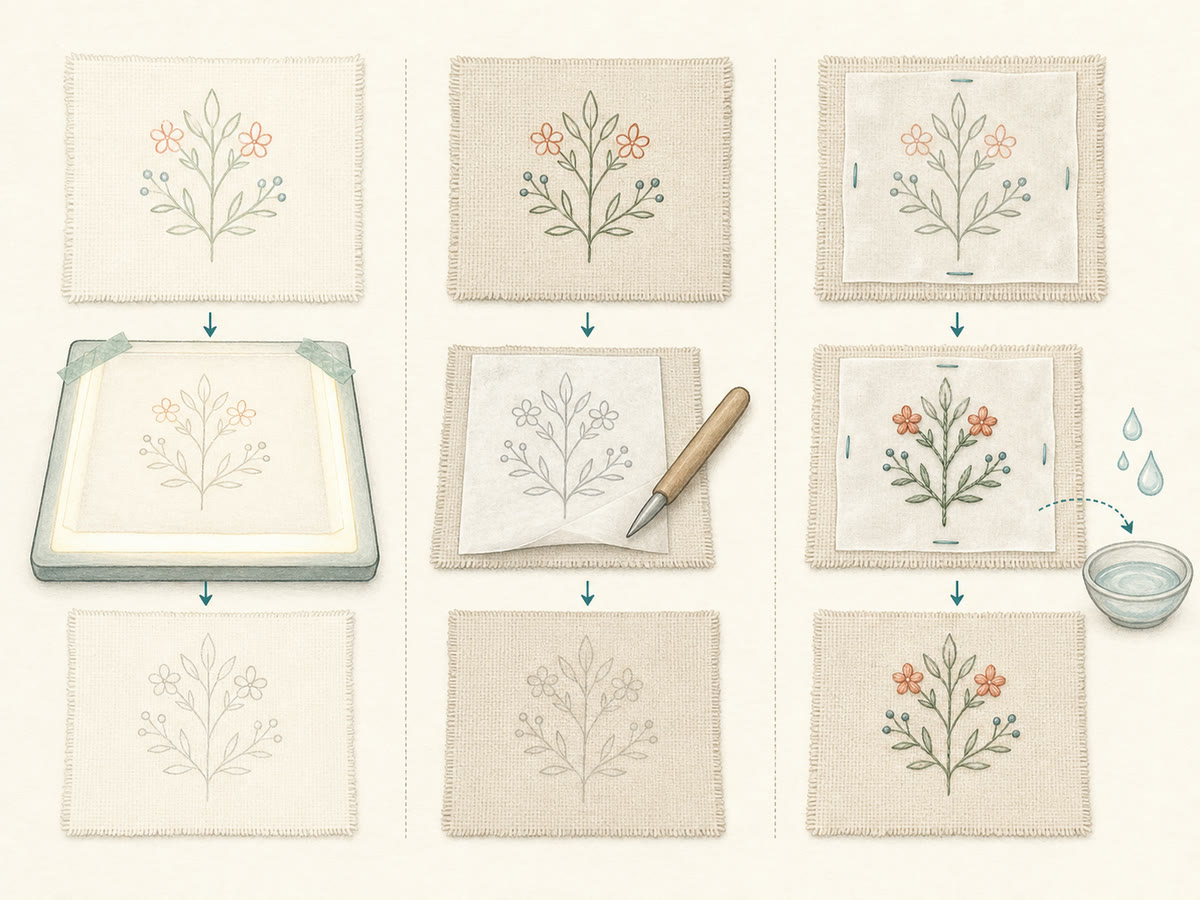
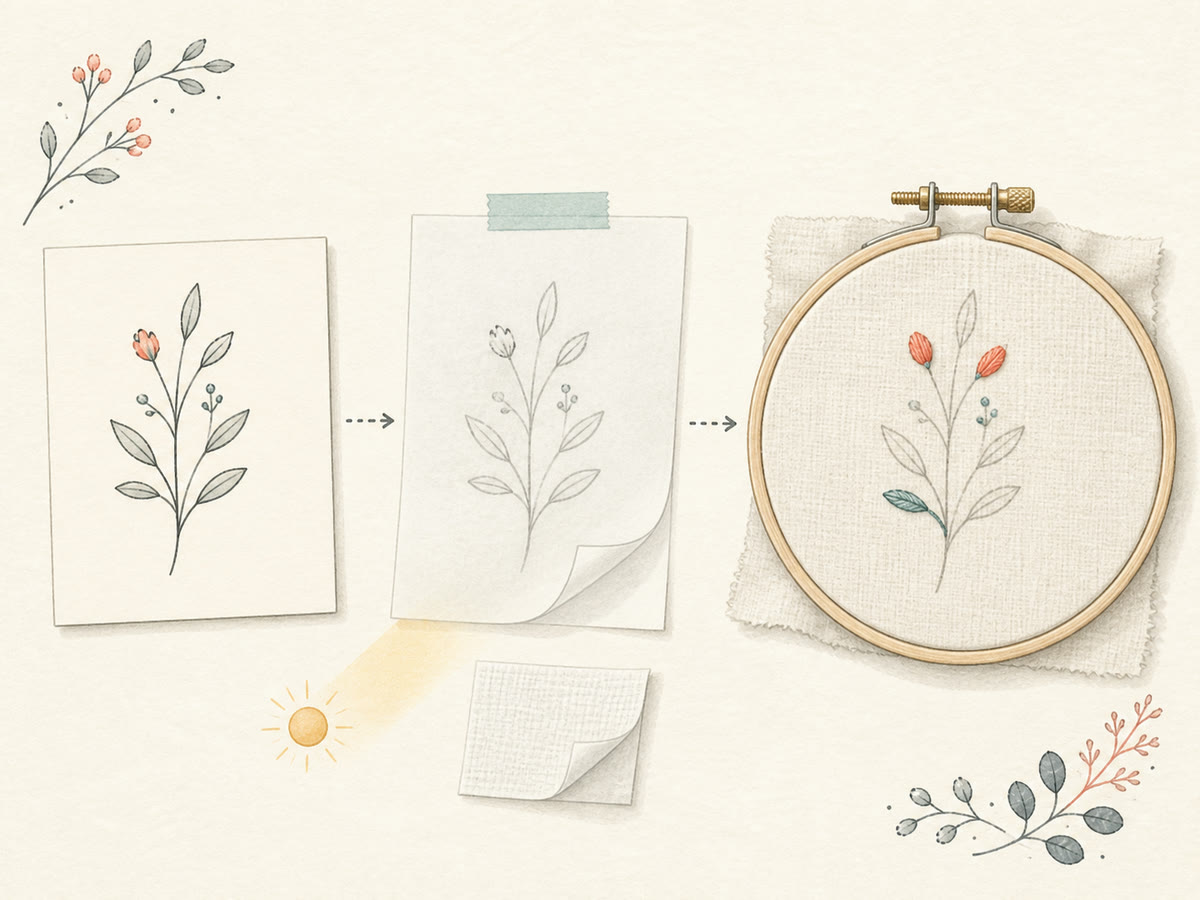
A bright window or light box works for a traceable design on fabric that lets the lines show through. Dressmaker-style transfer paper can suit opaque grounds, while printable water-soluble stabilizer carries detailed lines onto fabric that is difficult to trace. Tracing paper basted to the surface is another low-equipment option. Each marking product behaves differently, so test visibility, bleeding, removal, and fabric damage on a project offcut first.
Set scale, direction, and grain before marking
Print or display the design at finished size, mark its centre and main axes, and align those guides with the fabric grain and intended placement. Leave enough fabric for the hoop, handling, seam, or frame. Reverse the design when the working method reveals the opposite face, especially when lettering is present. Use the finest line that remains visible so the transfer does not dictate the width of the stitching.
Plan removal before the first stitch
Confirm whether marks erase, wash away, dissolve, or must be completely covered, and follow the product and fabric care instructions. Do not assume heat, cold, or water is harmless: some temporary marks can persist or return, dyes can move, and delicate grounds can change. Make the removal sample with the actual thread and finishing method, then keep essential alignment notes outside the area that will disappear.